Registration Instructions
These are instructions for how to register for classes through WarriorWeb.
- Login through WarriorWeb.
Type Registration or Schedule Planner in search bar.

Find Academics and Registration, select it.

Scroll down until you see Register select it.

Select Term and then click Submit

If Term is correct, select Save & Continue.
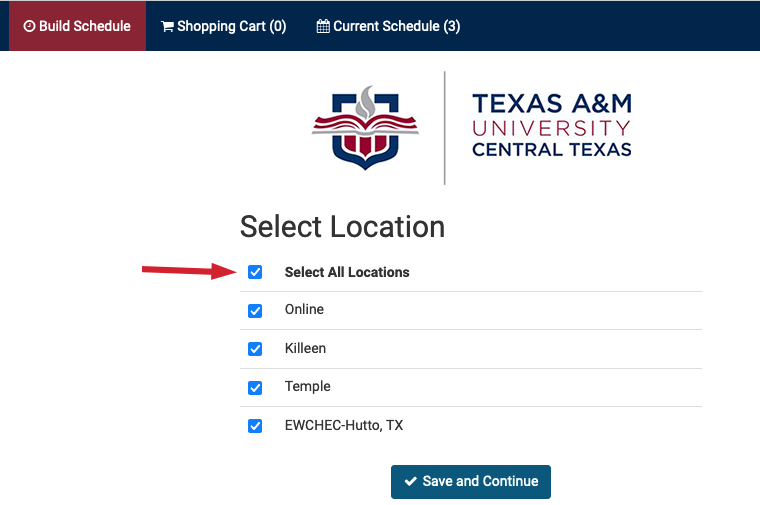
Check Location and then select Save & Continue
Select Course Status and then Save & Continue.

- After classes are added, select +Add Course (and +Add Break, if there are times you do not wish to take classes).
Next, scroll down, select Generate Schedule and click Compare and click View and choose which schedule best for you.

Select Subject and Select Course. Next click +Add Course.

- Select: Send course(s) to Shopping Cart (example)


*You are now building a schedule.
Next screen: Review Course - Description. (Example)
and then select Go Back to Generate Schedule

If you have questions, read the Registration FAQs, consult with your advisor, and/or contact the Records Office.