Registration Instructions
These are instructions for how to register for classes through Warrior Web. The preferred browser for registering is Chrome. If you have questions, read the Registration FAQs, consult with your advisor, and/or contact the Registrar's Office.
- Login through Warrior Web.
Type Register in the search bar.

Click Register.

Acknowledge the Financial Responsibility Agreement (first time).
Select Term and then click Submit.
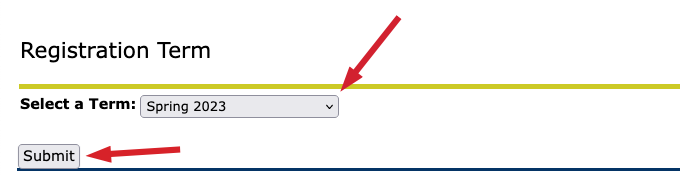
If Term is correct, click Save & Continue.
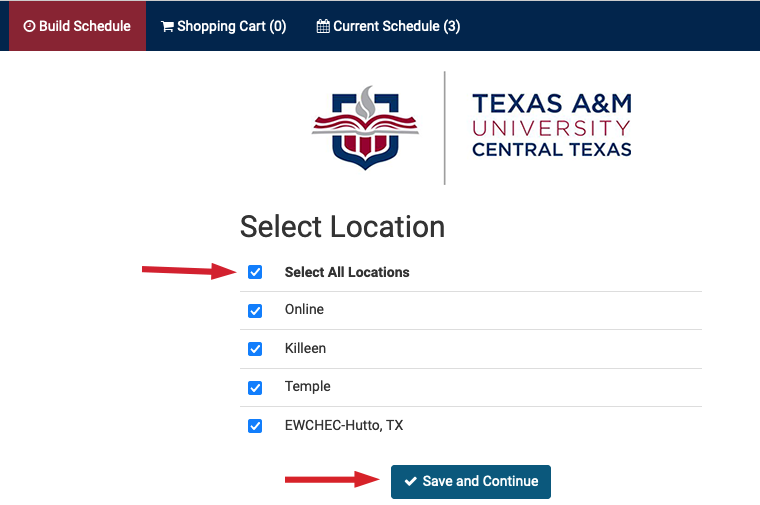
Setup information: Check Location and then click Save & Continue.
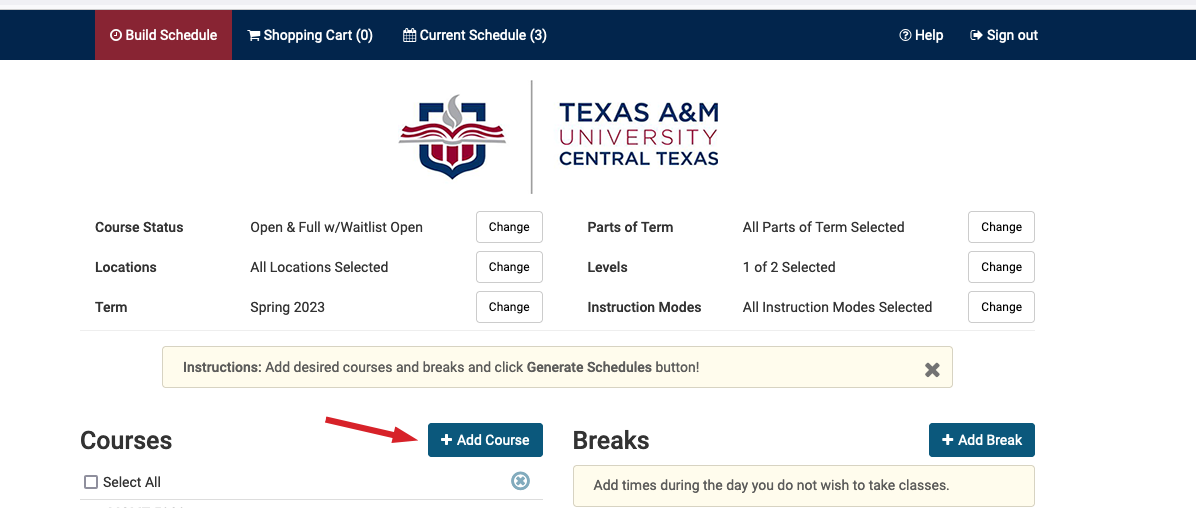
Find Courses, (click +Add Course):
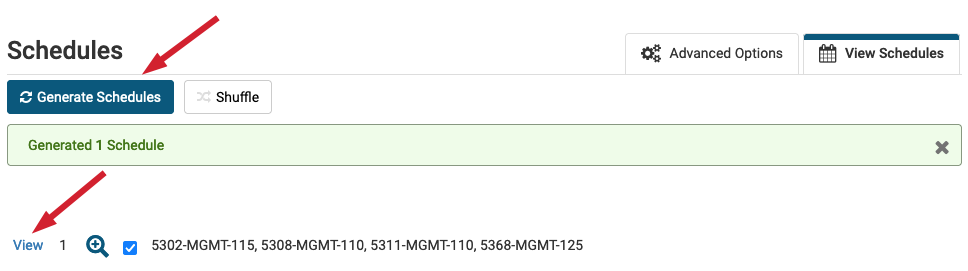
Click Generate Schedule, and then click View to choose which schedule is best for you.
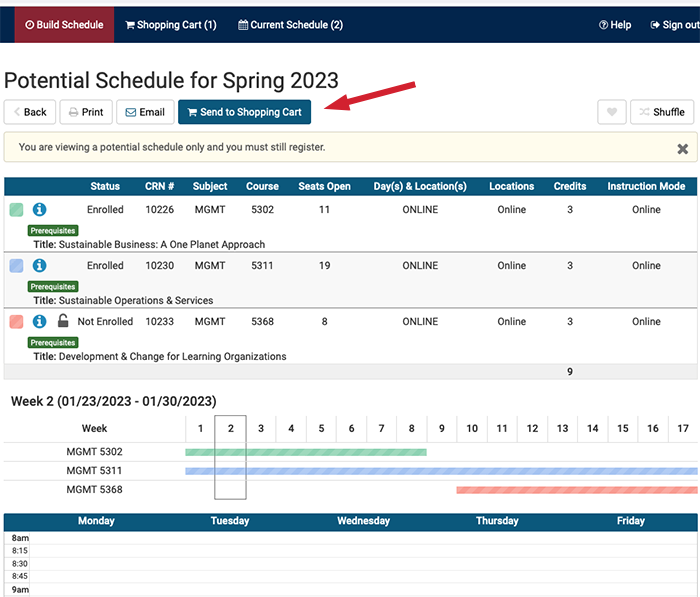
If the schedule fits your needs, click: Send course(s) to Shopping Cart.
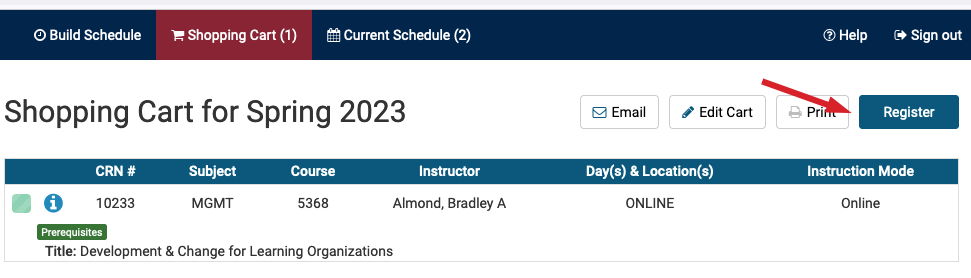
Shopping Cart: Click Register
- Return to the main Warrior Web page or exit Warrior Web.
- Be sure to exit Warrior Web, if you are using a publicly accessible computer.
- If you have questions, read the Registration FAQs or consult with your advisor.
- Contact the Registrar's Office:
- Email: records@tamuct.edu
- Phone: 254.501.5857
- Fax: 254.519.5486
- Office Hours: 8 am - 5 pm, Monday through Friday
- Location: FH 108

(You will be redirected to College Scheduler to build a schedule and register for classes.)
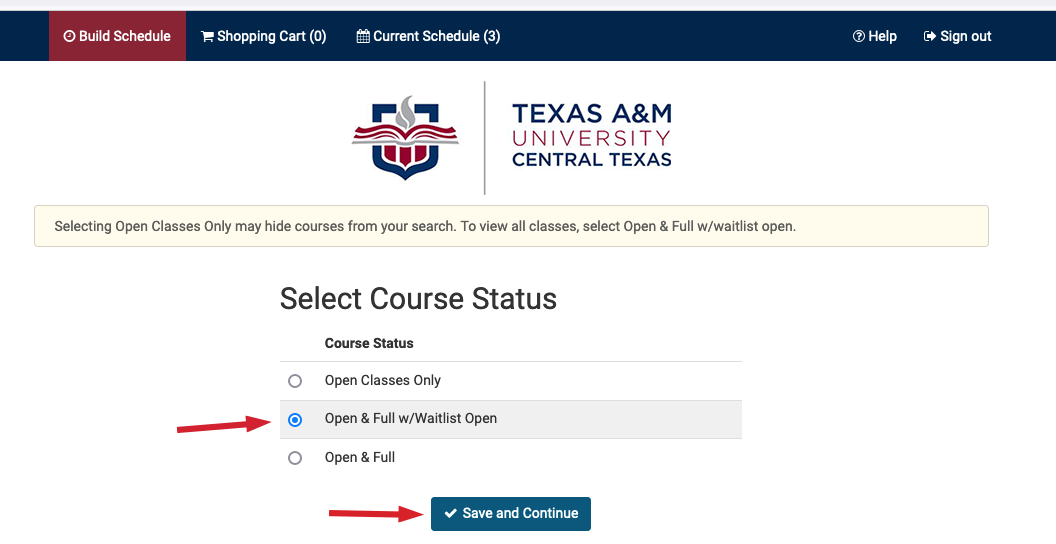
Select Course Status and then click Save & Continue.
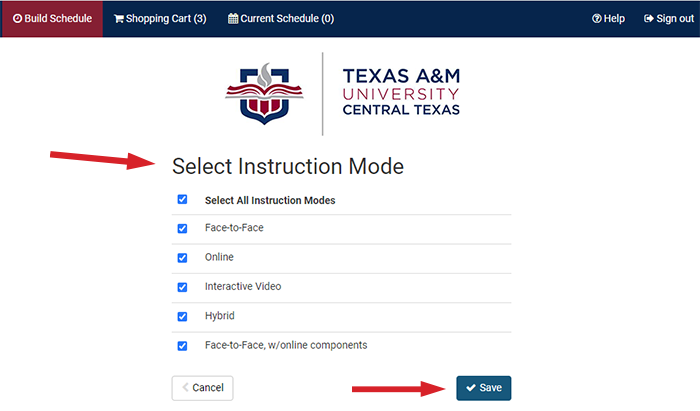
Select Instruction Mode and Save.
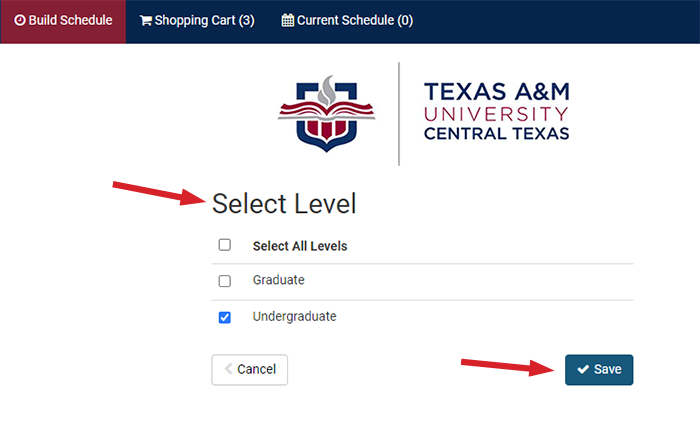
Select Level and Save.
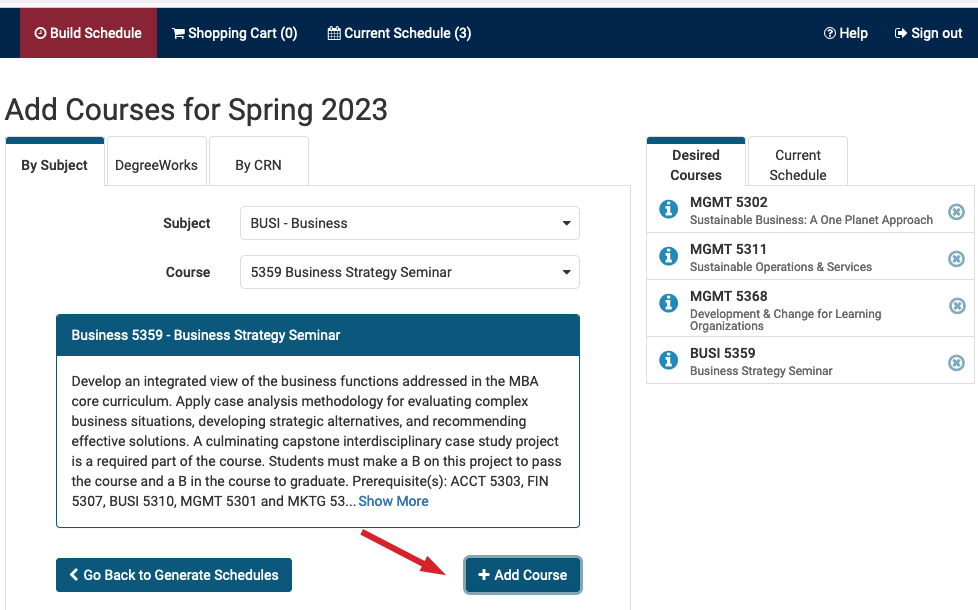
Select Subject and Course
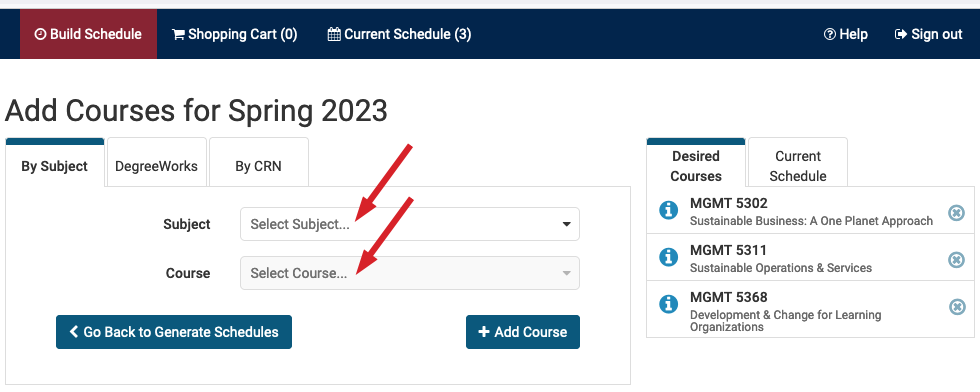
Add Course: Review Course Description and click +Add Course. (Once all courses are added, click Go Back to Generate Schedules.)
After completing registration: